You can make engaging sensory toys with items already around your home. Fill a plastic bottle with water, oil, and glitter for a mesmerizing sensory bottle. Create a sensory bin using dried rice or beans as a base, adding cups and spoons for scooping. For tactile exploration, glue different textured materials like sandpaper or felt onto a sturdy board. These simple projects support your child’s development, and you’ll find there’s even more to create.
Key Takeaways
- Use pantry staples like rice, beans, and oats to create simple auditory shakers and sensory bin fillers.
- Repurpose empty plastic bottles, kitchen tools, and sturdy bags as foundations for sensory bottles and mess-free tactile bags.
- Permanently seal lids with strong glue or duct tape to ensure child safety and prevent spills during play.
- Customize textures and sounds by varying contents, such as different grains, buttons, or water beads, to suit developmental needs.
- Store homemade toys in labeled clear bins or rolling carts to organize materials and easily rotate activities.
What Are Sensory Toys and Why Make Them at Home?
While sensory toys are designed to actively engage a child’s senses—through textures, sounds, and visuals—you can easily create them at home. These items provide essential input for brain development, building nerve connections that strengthen memory and problem-solving skills. They help your child develop fine motor control and emotional regulation through safe, repetitive exploration. Making them yourself offers freedom. You customize activities to your child’s exact needs and interests, avoiding overstimulation while using simple household materials. This hands-on approach is cost-effective and deepens your involvement in their learning, making sensory play accessible and perfectly tailored for your family. These homemade tools can also provide crucial sensory integration benefits for neurodiverse children.
Gather Your Household Sensory Toolkit
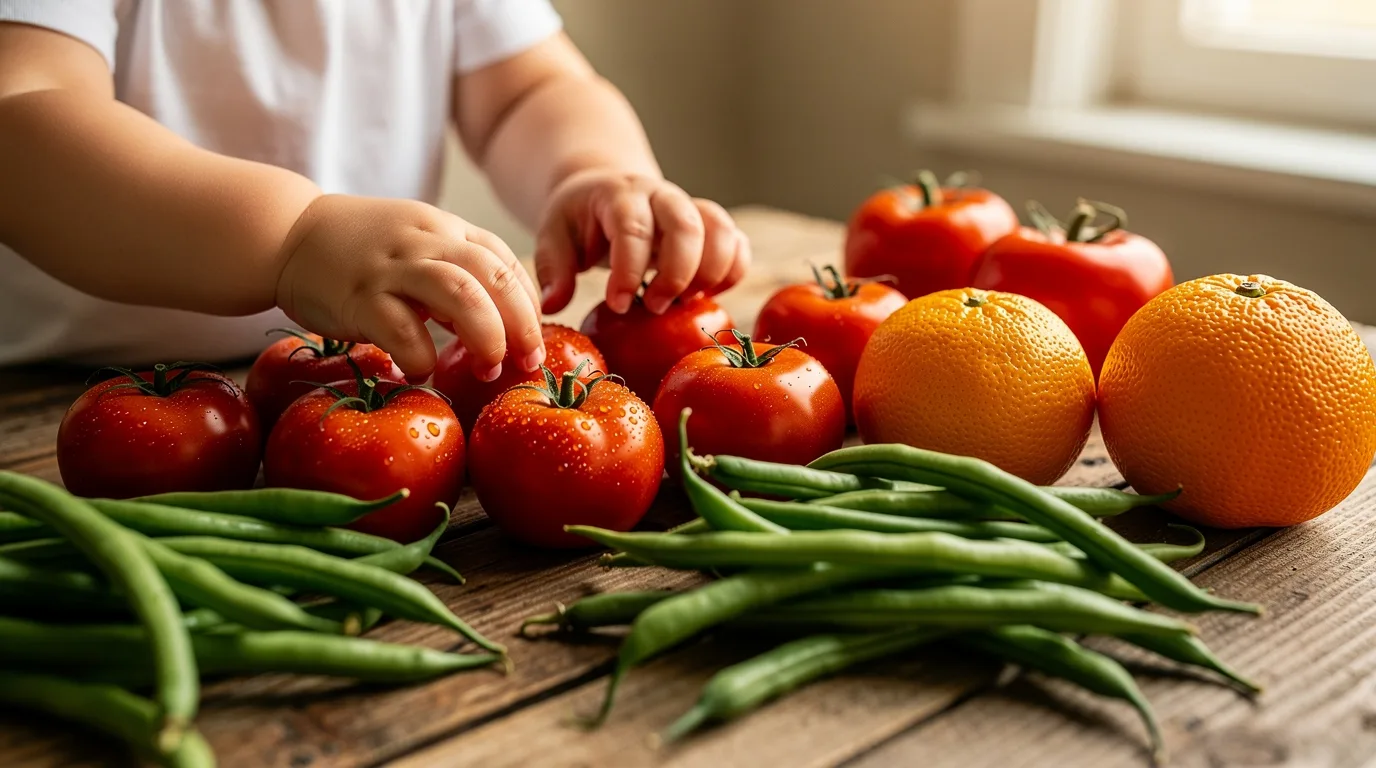
You’re ready to transform everyday items into engaging sensory tools, and your home is already stocked with the perfect materials. Raid your pantry for dried rice and beans to fill shakers or create weighted bags. The bathroom offers shaving cream for tactile play and sponges for squeezing. Look to the kitchen for cups, measuring spoons, and shallow bins to contain your creations. Gather fabric scraps, textured materials, and even cardboard to build custom fidget boards. These simple, free items grant you the freedom to craft personalized sensory experiences. You have everything you need to start building your toolkit and begin exploring. DIY tools at home can effectively meet increased sensory stimulation needs.
Craft Mesmerizing Sensory Bottles With Kitchen Staples
Since your kitchen already holds everything you need, crafting mesmerizing sensory bottles is one of the easiest sensory toy projects you can tackle. Start with an empty plastic water bottle as your base. For slow, captivating movement, fill it three-quarters full with baby oil or mix clear glue with warm water. This creates a thick, controlled liquid for add-ins. For best results suspending glitter, use clear Elmer’s glue in your mixture.
Now, personalize your creation. Add fine glitter, food coloring, or small water beads for visual texture. Use a funnel for precision. Once you’re happy with the elements and flow, seal the lid permanently with super glue. You’ve just engineered a custom sensory tool from simple pantry and craft staples.
Explore Calming Variations for Your Sensory Bottles
Once you’ve mastered the basic sensory bottle, a whole range of calming variations awaits you.
Try glitter-based bottles using red, blue, and silver glitter in recycled household bottles for patriotic themes. Gold and silver glitter bottles offer slow-fall visual calming perfect for anxiety relief. These bottles are particularly helpful for sensory processing needs. Rainbow glitter bottles made with colored glitter glue keep costs down while delivering stunning effects. Mix clear Elmer’s glue with food coloring and warm water in Voss bottles for mesmerizing swirl patterns.
Explore themed bottles for Valentine’s Day, Easter, or holidays using sequins and glitter you already own. Slow-falling beads and hearts provide extended visual tracking for sensory regulation. Dish soap suspends glitter for about a minute, while corn syrup extends the effect further.
Create “I Spy” bottles by hiding small toys in glitter bases for engaging seek-and-find calming activities.
Build an Engaging Sensory Bin From Your Pantry
Moving from visual calming to hands-on exploration, you can create a rich sensory bin using simple pantry staples. Start with a engaging base like taste-safe snow, made by mixing baking soda and water, or moldable moon sand from baked flour and oil. These provide fantastic, safe textures for scooping and shaping. For a dynamic twist, try taste-safe ooblek mud, a non-Newtonian fluid that changes state under pressure, ideal for hands-on science lessons.
Then, layer in dry fillers for variety. Use dried beans, rice, or rolled oats as a soothing base. Add measuring cups, spoons, and funnels for pouring. You can even create vibrant colored rice by shaking it with food coloring and a little vinegar in a bag. Mix textures like crushed graham crackers or gel-like chia seeds. You have the freedom to combine what you have, creating a unique sensory experience that invites curiosity and open-ended play.
Create Themed Sensory Bins for Endless Discovery
While basic sensory bins offer wonderful open-ended play, adding a theme transforms them into immersive worlds that spark deeper curiosity and storytelling. You can create a beach scene using kinetic sand, seashells, and blue pom pom waves. For adventure, bury dinosaur figures in a base of lentils and beans, adding rocks for excavation. Cultivate a farm with colored rice fields, small animals, and raffia hay. Explore shapes and colors with a pasta bin, featuring dyed pasta and scoopers for a simple sorting activity. Launch into space with a galaxy of black beans, glow-in-the-dark planets, and star beads. Dive into an ocean theme with green water beads, paper lily pads, and slimy food-colored spaghetti for creatures. Each themed bin invites endless discovery using simple items from your home.
Design a Custom Texture Board With Fabric and Found Objects
Because texture boards pack multiple tactile experiences into one compact surface, they’re an ideal DIY sensory toy that doesn’t require much space or many materials. Start with a sturdy base like cardboard or foam board, cut to a manageable size. Gather textured items from around your home: think sandpaper for roughness, soft fabrics like felt or velvet, and interactive elements like bottle caps or zippers.
Arrange your finds by dividing the base into sections for visual balance. Attach everything securely with strong glue, ensuring a low-relief, flat profile safe for exploration. For creations accessible to young children who might mouth objects, choose a durable, non-toxic adhesive like epoxy or Surebonder 9001. This freedom to customize lets you create a unique tactile journey that builds descriptive language and provides endless, mess-free sensory play.
Assemble Mess-Free Sensory Bags for Tactile Play
If your child loves exploring textures but you’d rather skip the cleanup, sensory bags deliver that hands-on experience inside a sealed zip-top bag. You can use household items like hair gel, baby oil, or shaving cream as a base, then add buttons, beads, or water beads for visual and tactile interest. This activity builds fine motor skills, encourages descriptive language, and supports sensory processing—all within a mess-free format. They are also an excellent tool for engaging reluctant tactile learners.
To assemble, fill a sturdy bag, press out excess air, and seal it firmly. Reinforce the closure with strong packing tape. For added security, tape the bag to a table or floor. Always supervise play, especially with younger children, to ensure the bag stays intact and exploration remains safe and engaging.
Whip up Customizable Playdough With Baking Ingredients
Create soft, long-lasting playdough at home using basic baking ingredients like flour, salt, and cream of tartar. Mix a simple base: combine flour, salt, and cream of tartar, then add oil and boiling water. Knead the dough until it’s smooth and no longer sticky. You control the texture and can add vibrant color by mixing gel food coloring into the water first mix food coloring or kneading it in later. Store your creations in an airtight container; the salt acts as a preservative, letting your playdough last for months. This gives you the freedom to craft custom sensory tools anytime. For permanent sculptures, simply bake your shaped dough at a low temperature until hardened.
Make Simple Shakers and Jars for Auditory Fun
Grab an empty plastic bottle and a few pantry staples, and you’re on your way to building a simple sensory shaker that doubles as a mini musical instrument. You choose your sound: fill it with rice for a gentle whisper, beans for a bold rattle, or add bells and buttons for bright, tonal layers. For safety, consider using white vinegar instead of water so it tastes unpleasant if a child manages to open the lid. Mix materials to craft your unique acoustic signature.
Wash and dry your bottle first. Fill it about three-quarters full to let contents move freely. Once you’re happy with the sound, glue the lid on securely and wrap it with several layers of duct tape for a durable, child-safe seal. Shake, explore rhythms, and enjoy your custom auditory creation.
Adapt These Toys for Different Ages and Needs
While every child’s development is unique, these sensory toys can be easily adapted to suit different ages, abilities, and sensory preferences. You can effortlessly modify each creation to match a toddler’s curiosity, a school-age child’s focus, or specific sensory needs.
- Transform a simple shaker by varying the contents: use rice for a soft sound, buttons for a visual rattle, or add colored water for a calming visual-auditory blend.
- Upgrade a tactile board by swapping textures; attach rough sandpaper, smooth fabric squares, or bumpy mesh for different hands to explore.
- Modify a balance path with weighted rice bags along the side or wider tape lines for greater vestibular input and stability.
These adjustments empower you to create the perfect sensory tool for every child.
Safe and Stimulating: Essential Safety Tips for DIY Sensory Toys
Since safety is foundational to the joy of crafting, you’ll want to ensure every DIY sensory toy you create is both stimulating and secure for exploration. Always select non-toxic, certified materials, using water-based PVA glue and avoiding any lead or phthalates. Prevent choking hazards by ensuring no part fits through a toilet paper roll; secure all elements firmly and keep strings under seven inches.
Design with durability in mind—use robust materials and eliminate sharp edges or protruding fasteners. Finally, maintain hygiene by choosing washable fabrics and inspecting toys regularly for wear or weak seams that could expose stuffing. This mindful approach lets you craft with confidence and freedom.
Smart Storage Solutions for Your Homemade Sensory Toys
Once you’ve crafted a collection of sensory toys, keeping them organized makes all the difference between a cluttered chaos and a smoothly running play space. Effective storage not only tidies up but also enhances accessibility and play value. Consider these smart solutions:
- Use clear plastic bins with labels to instantly see and sort toys by theme, perfect for items like play dough tools or textured balls.
- Opt for rolling carts such as the RASKOG system to store and move sensory materials effortlessly, ideal for small spaces or rotating activities.
- Repurpose household items like under-bed bins for rice bins or ice cube trays for organizing small parts, saving you space.
These approaches empower you to maintain a dynamic, organized play area that fosters creativity and independence.
Where to Find More Inspiration for Household Sensory Play
Now that your sensory toys are neatly stored, you’re ready to explore fresh ideas for play using everyday items. Turn to blogs like Mothercould or Fun-A-Day for endless activity lists and messy play recipes. Websites such as Inspire My Play offer free printables to structure your exploration. Find visual inspiration on Pinterest and Instagram, where accounts like Popart.kids share vibrant, creative prompts. Search YouTube for video tutorials from channels like Kindship, demonstrating techniques for colored rice or sensory bottles. Finally, join parent forums and communities to exchange practical tips, like creating texture paths with carpet squares or bubble wrap. This network of resources empowers you to invent and adapt freely.
Conclusion
You’re now equipped to turn everyday items into tools for discovery. Remember, your kitchen can become your workshop, fostering focus and connection. Always prioritize safety, adapt for your child’s unique needs, and store creations in clear containers for easy access. This journey isn’t about perfection—it’s about playful exploration and the joy you create together.